Microsoft SkyDrive is an awesome service and the recently released desktop synchronisation application makes keeping all of your files with you and up-to-date a breeze.
When you first install SkyDrive it prompts you to select the folder location in which to store your files. But what happens if you want to change that location down the track? The application itself doesn’t currently have that functionality.
One way is to unlink and re-link your account in the application Settings, this requires you to re-download all of your files again. This may not be a big deal if you have a small number of files, but what do you do if you have many gigs of data to re-sync?
The following workaround helps you do just that:
1. Exit the SkyDrive application via your system tray.

2. Move the existing SkyDrive folder (under your user profile by default) to the new desired location. I moved mine to “D:\Max\SkyDrive”.
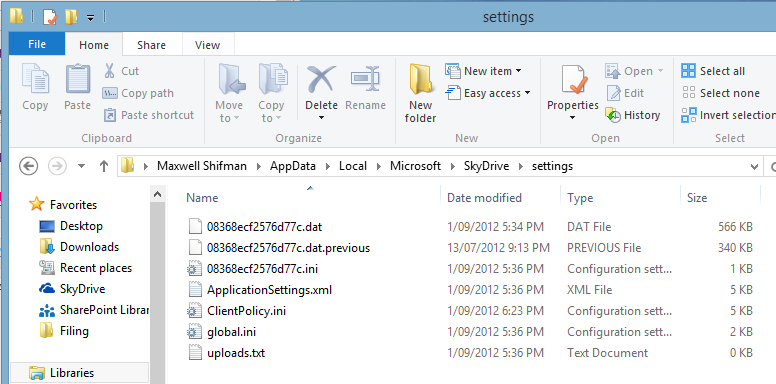
3. Use Windows Explorer to navigate to the folder “c:\users\[username]\AppData\Local\Microsoft\SkyDrive\settings\” where [username] is your user profile.

4. Look for the .ini file with the random letters & numbers (in the above image, it is 08368ecf2576d77c.ini). Edit this with your favourite text editor.
5. Search for the line which starts with “library = “. This line shows the folder where your SkyDrive data was originally synchronised after “personal“. Change this to the proposed new file location.

Make sure you get this exactly right. Once you are done, Save and Close.
6. Launch SkyDrive from your Start Menu. You may get an error pop up, but the application will do a quick scan of the folder and confirm all is in order.
Leave a Reply